This topic is relevant to security gateways and managed switches.
Overview
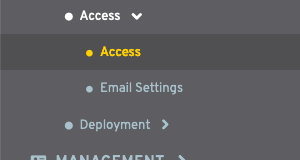
Figure 1. Access Menu
The Configure section in the left navigation of the Central Management System (CMS) contains an Access menu (Fig. 1). Here you can control user access and configure email settings for the selected Mako.
Access Page
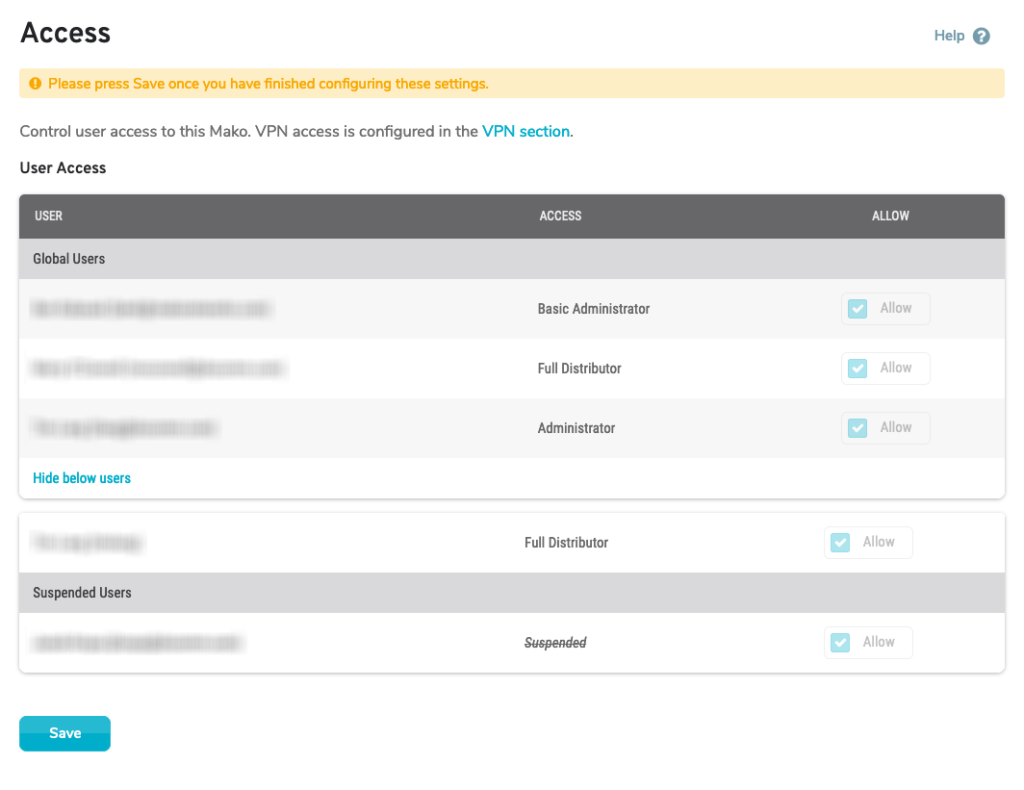
Figure 2. Example Access Page
The Access page (Fig. 2) allows you to control user access to the selected Mako for a company’s Restricted Users. You can also view user access to the selected Mako for a company’s Global Users.
See the Users section documentation to create users that can be managed here.
See the VPN documentation to manage VPN users.
Global Users
Global Users have access to all of a company’s Makos and automatically gain access to any new Makos created for the company.
Access for Global Users can be managed on the user’s Access Control page.
Columns
- User – name and username of the user
- Access – user’s level of access
- Allow – checkbox indicating whether or not the user is currently allowed access
Restricted Users
Restricted Users only have access to a subset of a company’s Makos and do not automatically gain access to newly created Makos.
Access to the selected Mako for Restricted Users can be managed here. It can also be managed on the user’s Access Control page.
Columns
- User – name and username of the user
- Access – user’s level of access
- Allow – checkbox indicating whether or not the user is currently allowed access
Actions
Allow Access
Check the checkbox in the Allow column for the user to allow them the access shown in the Access column for the selected Mako.
Deny Access
Uncheck the checkbox in the Allow column for the user to deny them the access shown in the Access column for the selected Mako.
Save Button
Click the “Save” button to save any changes made in the Allow column.
Email Settings Page
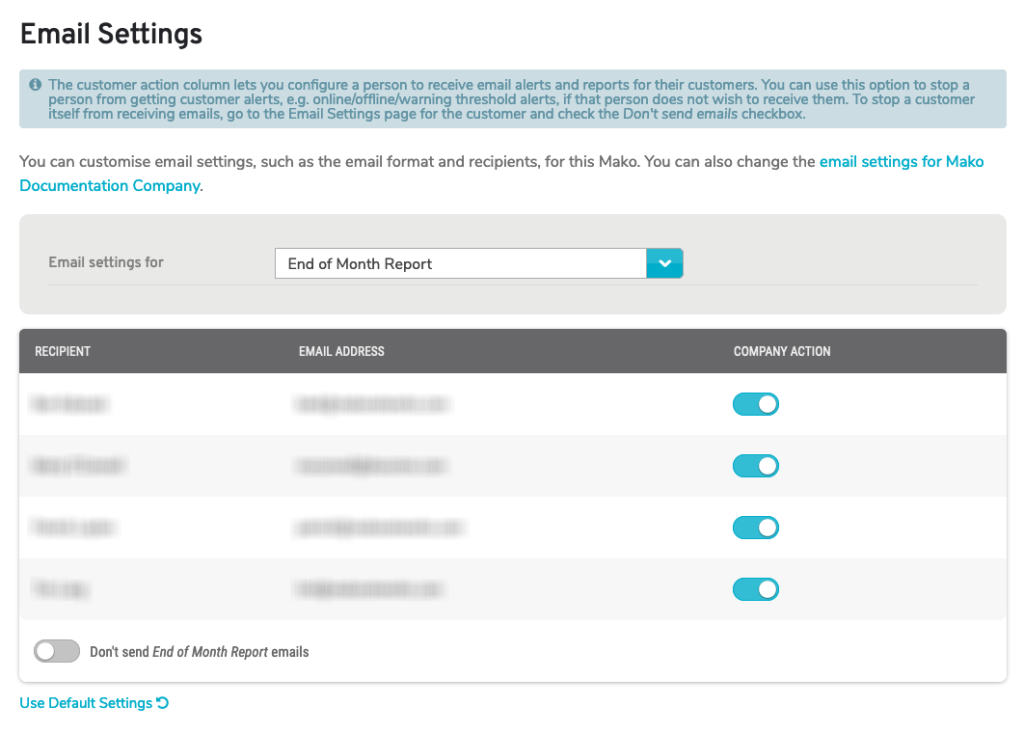
Figure 3. Example Email Settings Page
The Email Settings page (Fig. 3) allows you to customize email settings, such as the format and the recipients. See the Companies and Users documentation for additional email settings.
Email Message Filter
Use the Email Settings For dropdown to choose an email message to manage. Options include “Authentication Failure Alert” and “End of Month Report.”
Email Message Settings List
Columns
- Recipient – name of recipient
- Email Address – email address of recipient
- Action – enable/disable button
Actions
Enable Recipient
To enable a recipient for the selected email message, click the gray checkmark icon button or the red prohibition icon button in the Action column.
Disable Recipient
To disable a recipient for the selected email message, click the gray prohibition icon button or the green checkmark icon button in the Action column.
Do Not Send Email Messages
Click the “Don’t send ______ emails” checkbox to prevent the selected email message from being sent. To undo this and allow the email message to be sent on its normal schedule, click the checkbox again. If the checkbox is not visible, you may need to reset to the default settings instead (see below).
Use Default Settings
Click the “Use Default Settings” button if you want to reset to the default settings for the selected email message.