This topic is ONLY relevant to security gateways. It is NOT relevant to managed switches.
Overview
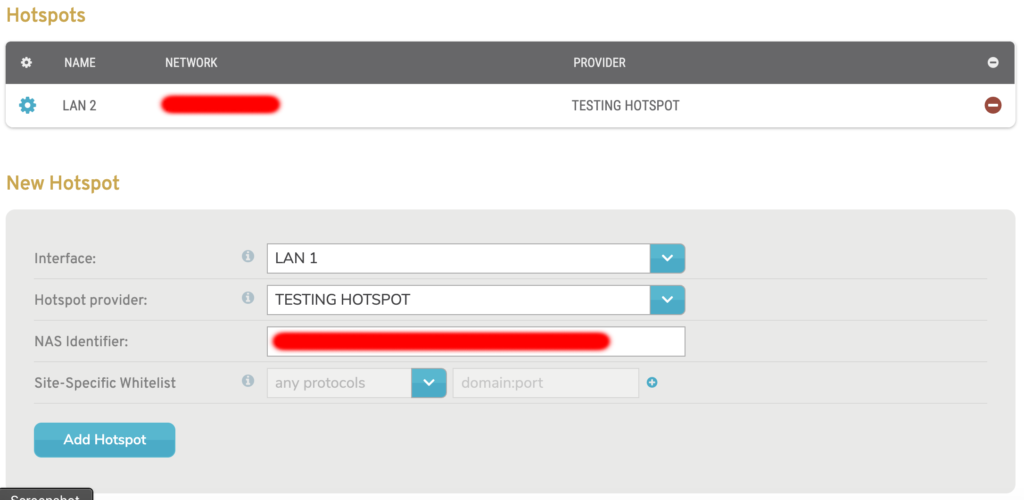
Figure 1. Hotspots Page
The Hotspots page (Fig. 1) allows you to manage hotspots for the selected Mako. A hotspot can be used to add login functionality to your Internet connection to enhance security and to collect additional user analytics data.
Before you can use this page, you must first have at least one hotspot provider available for your company. If you do not see any hotspot providers, please contact your central management team or your Mako Networks representative for assistance.
View Hotspots
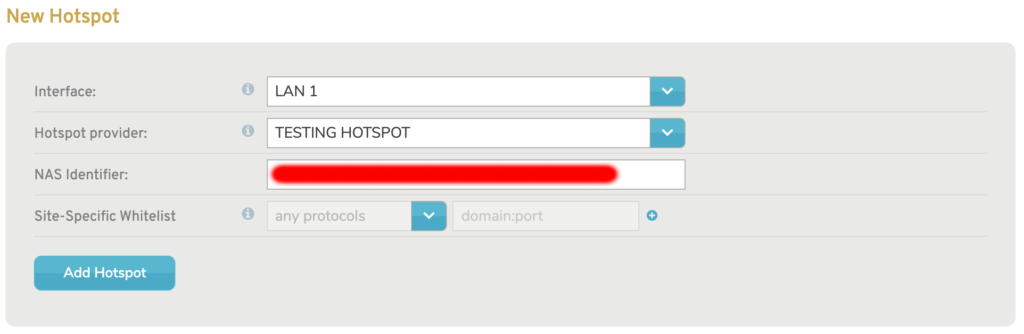
Figure 2. Example Hotspots List
Use the Hotspots list (Fig. 2) to view and manage existing Hotspots.
Columns
- Name – interface name
- Network – IP address and network mask of interface
- Provider – hotspot provider
- Option – edit and delete buttons
Actions
Edit Hotspot
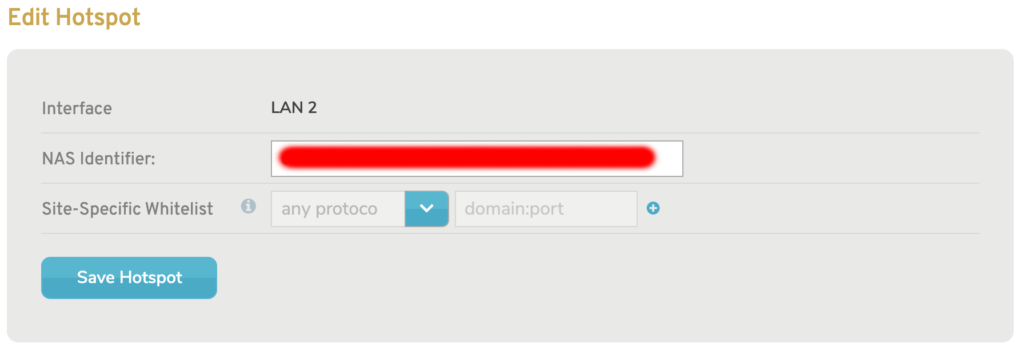
Figure 3. Edit Hotspot Form
To edit a hotspot, click its gear icon button in the Options column. This will open the Edit Hotspot form (Fig. 3) in a new window. Make any desired changes, then click the “Save” button.
Delete Hotspot
To delete a hotspot, click its “X” icon button in the Options column. This will open a confirmation panel asking you to confirm the deletion. If you are certain you want to delete the hotspot, click the “OK” button.
Add Hotspot
Figure 4. Add Hotspot Form
Use the Add Hotspot form (Fig. 4) to create a new hotspot.
Interface
Choose a local network that will access the hotspot.
Hotspot Provider
Choose from a list of internal and/or external hotspot providers defined for your company.
NAS Identifier
This is a unique identifier used to associate requests with the appropriate hotspot. Use the generated value provided or enter your own unique value.
Site-specific Whitelist
This is a list of resources that users may access via the hotspot without first authenticating.
Choose one of the following protocol options: “any protocols,” “TCP,” “UDP,” or “ICMP.” Then enter a domain name, IP address, or network segment. You can also specify a port, if desired.
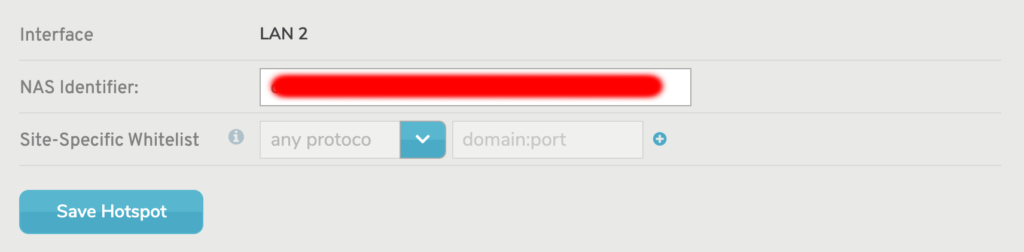
Figure 5. Multiple Site-specific Whitelist Fields
To add another item to the list, click the “New Entry” button to make additional entry fields appear. Repeat, as needed.
To remove an item from the list, click the “Remove” link next to the item (Fig. 5).
If you enter a wildcard domain, the related protocol will be set to “any protocols.”
Add Hotspot Button
Click the “Add Hotspot” button to create a new hotspot with these settings.