This topic is ONLY relevant to security gateways. It is NOT relevant to managed switches.
Overview
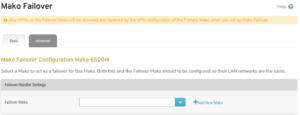
Figure 1. Example Mako Failover Page
The Mako Failover page (Fig. 1) allows you to select a different Mako to act as a failover for the selected Mako. Both Makos must be configured so that their peer LAN networks are in the same subnet for each LAN.
Any VPNs on the Failover Mako will be removed and replaced by the VPN configuration of the Primary Mako when you set up Mako Failover.
Basic Settings
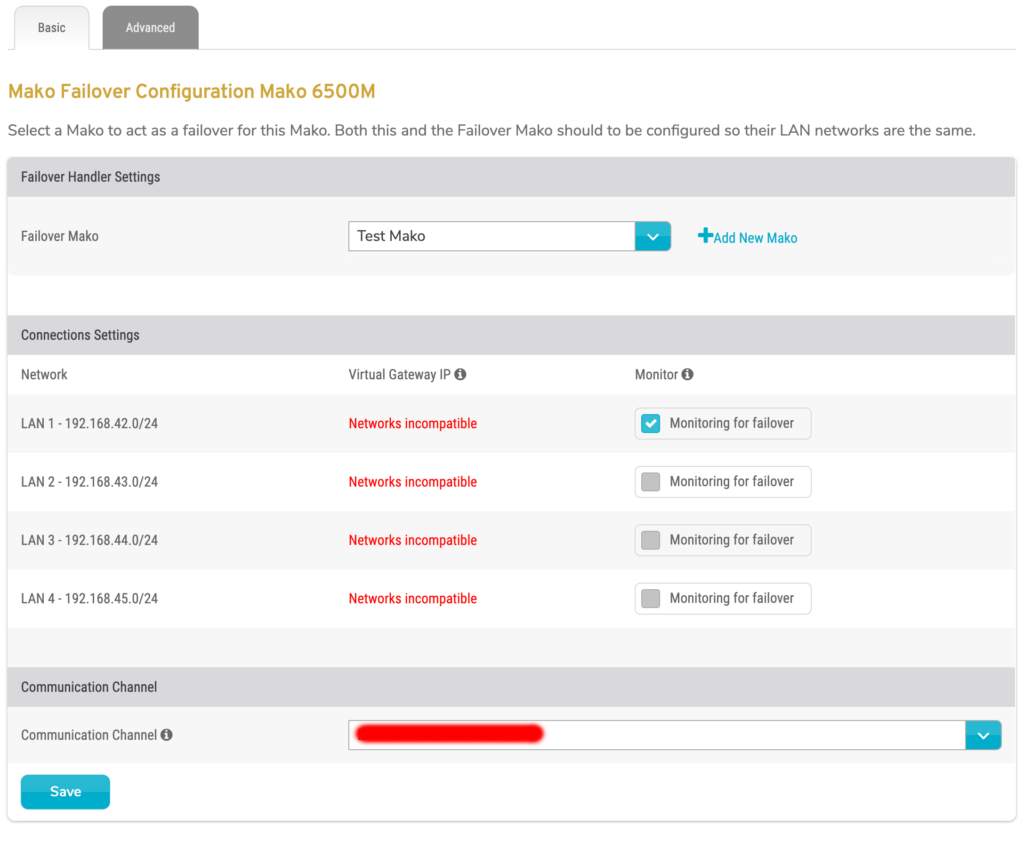
Figure 2. Example Basic Settings Tab
Use the Basic Settings tab (Fig. 2) to configure the basic Mako Failover settings.
Failover Mako
Choose a different Mako to act as the Failover Mako for the Primary Mako (selected Mako).
If you want to use a new Mako for this, you will need to add it first. You can click the “Add New Mako” link to begin. See the Add Mako documentation for details.
Connections
Network
The Network column of the Connections list automatically displays the networks that are available to configure.
Virtual Gateway IP
The Virtual Gateway IP column of the Connections list contains a field for each network. These fields are populated with a default value that is automatically calculated for each network.
The Virtual Gateway IP is the IP address that computers on the network should have as their default route.
If the primary internet connection or the Primary Mako itself fails, then the Primary Mako will hand over the Virtual Gateway IP to the Failover Mako. The Failover Mako will become active and handle all internet traffic until the issue is resolved.
Monitor
The Monitor column of the Connections list contains a checkbox for each network. Use these checkboxes to specify which networks to monitor for failover. Monitored networks that encounter issues will trigger a failover. Networks that are not being monitored will not trigger a failover if they encounter issues.
Communication Channel
Choose a network to designate as the Communication Channel. This is used to exchange failover information between the Primary Mako and Failover Mako.
If possible, the Communication Channel for these Makos should be connected as directly as possible, e.g. with a cable between the two ports and not through a switch. This helps to prevent situations where an internal network malfunction causes both Mako devices to act as the Primary Mako, e.g. if a switch within the Communication Channel fails, then both Makos will send ARP requests to assume the Virtual Gateway IP.
Designating a network as the Communication Channel does not interfere with its existing network traffic.
Save Button
To save any changes made to the basic settings, click the “Save” button.
Delete Button
After you have saved a Mako Failover configuration, the “Delete” button will become available. Click the “Delete” button to delete the Mako Failover configuration, i.e. clear all the settings on this page. This will open a confirmation panel asking you to confirm the deletion. If you are certain you want to delete the Mako Failover configuration, click the “OK” button.
Advanced Settings
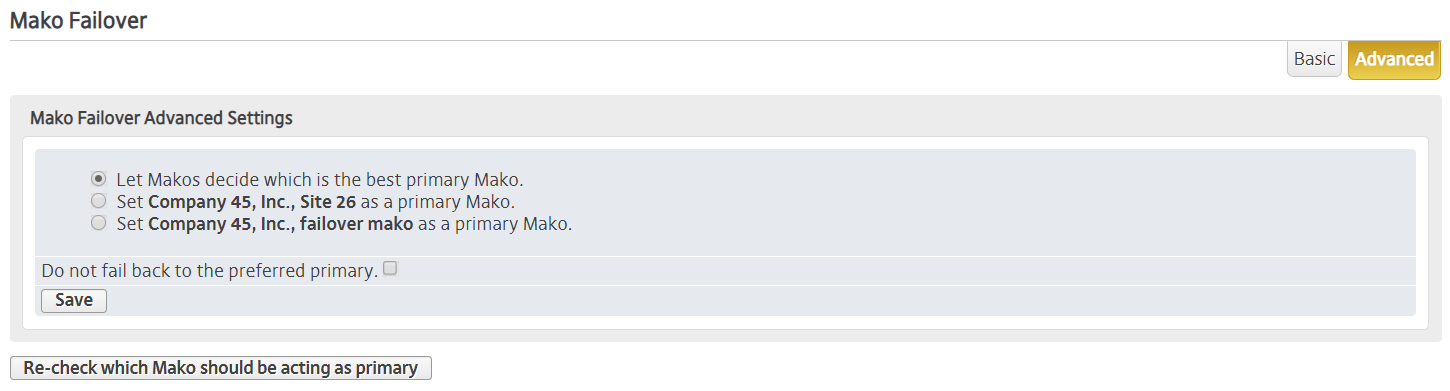
Figure 3. Example Advanced Settings Tab
Use the Advanced Settings tab (Fig. 2) to configure the advanced Mako Failover settings. While the basic settings assume the selected Mako is the Primary Mako, the advanced settings allow you to specify the preferred Primary Mako and related behavior.
Preferred Primary Mako
Choose one of the following options:
- Let the Makos decide which is the best Primary Mako (default behavior)
- Set [the selected Mako] as Primary Mako
- Set [the Failover Mako from the basic settings] as Primary Mako
Do Not Fail Back to the Preferred Primary
The Do Not Fail Back to the Preferred Primary setting is disabled by default. Enable it to continue using the preferred Failover Mako after a failover event, even if the preferred Primary Mako becomes available again.
Save Button
To save any changes made to the advanced settings, click the “Save” button.
Re-check Button
Click the “Re-check which Mako should be acting as primary” button to manually trigger the automated process that determines which Mako should be acting as the Primary Mako.