Overview
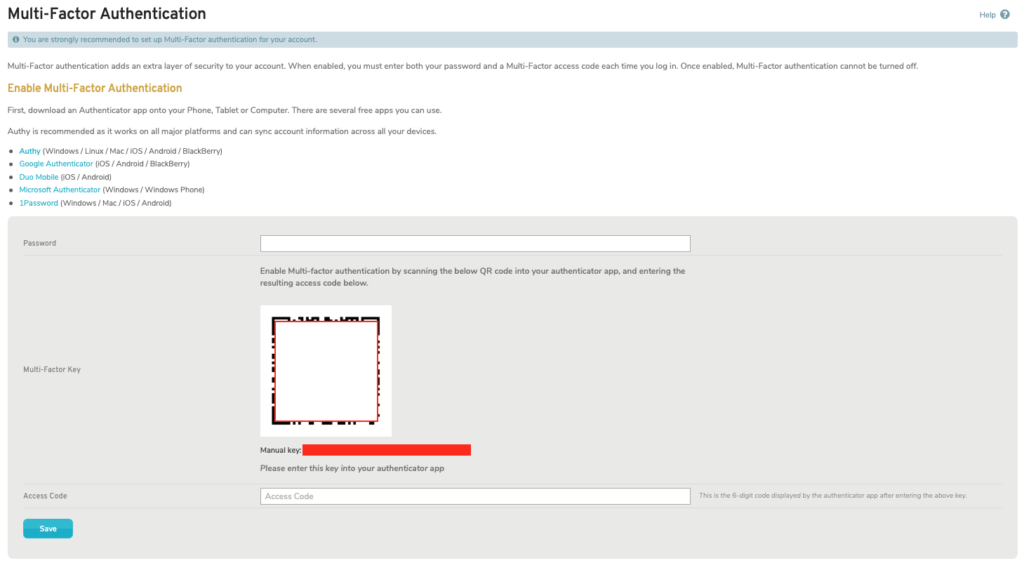
Figure 1. Multi-Factor Authentication Page
The Multi-Factor Authentication page (Fig. 1) allows you to enable Multi-Factor Authentication (MFA) for your own user account and to generate Emergency Access Codes for accessing the Central Management System (CMS) without a standard access code. This page is only available for your own user account.
Enable Multi-Factor Authentication
To enable MFA for your user account, follow the instructions in the Enable Multi-Factor Authentication form (Fig. 1).
Choose and download an approved authenticator app. This is an app that generates 6-digit access codes that you will enter when logging in to the CMS.
You will need either the QR code or the Manual key shown in the form to set up the authenticator app. Please refer to the documentation for your chosen authenticator app for specific details.
Once the authenticator app is up and running, it will generate access codes at regular intervals. It will display the current access code with a countdown to expiration. If an access code is about to expire, you may want to wait and use the next one.
Enter your current password and the current access code provided by the authenticator app, then click the “Save” button.
Disable Multi-Factor Authentication
You can disable MFA for your user account on the Access Control page. You will need to repeat the MFA setup process if you want to continue using MFA with this account. MFA is REQUIRED for all users in companies with Makos configured with the PCI Template.
Generate Emergency Access Code
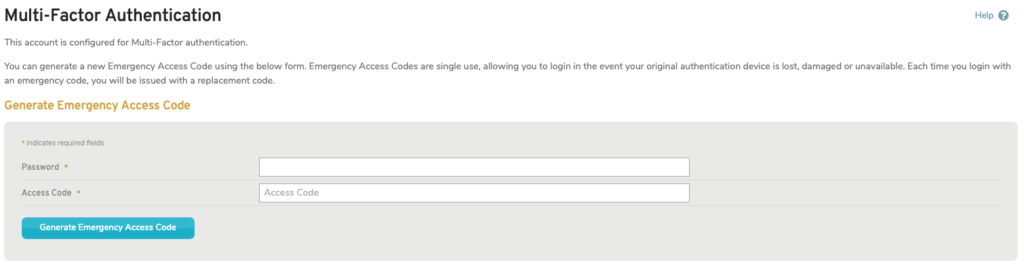
Figure 2. Multi-Factor Authentication Page After Configuration
After MFA has been configured, the Generate Emergency Access Code form on the Multi-Factor Authentication page can be used to generate an Emergency Access Code (Fig. 2).
Emergency Access Codes are single-use access codes that allow you to login to the CMS in the event that your original authentication device is lost, damaged, or unavailable.
Each time you login with an Emergency Access Code, it will be invalidated and you will be issued a replacement Emergency Access Code for future use. You will also be given an opportunity to register a new authenticator app to replace the old one, if desired.
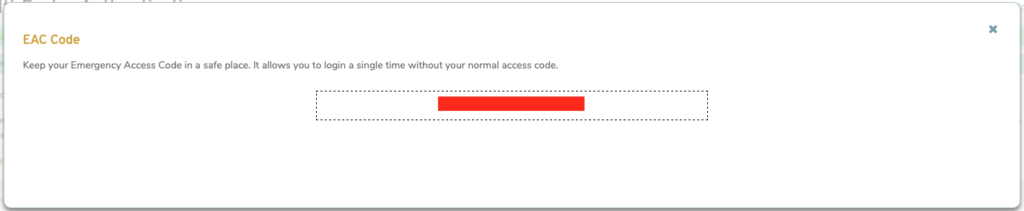
Figure 3. Emergency Access Code Message
Enter your current password and the current access code provided by your authenticator app, then click the “Generate Emergency Access Code” button. This will display a message containing your new Emergency Access Code (Fig. 3). Any older Emergency Access Codes you may have generated will be invalidated.
Keep your current Emergency Access Code in a safe place that is accessible without your authentication device.
Validate Access Code
The Access Control page has a tool for checking that your authenticator app is generating valid access codes for your user account.