Overview
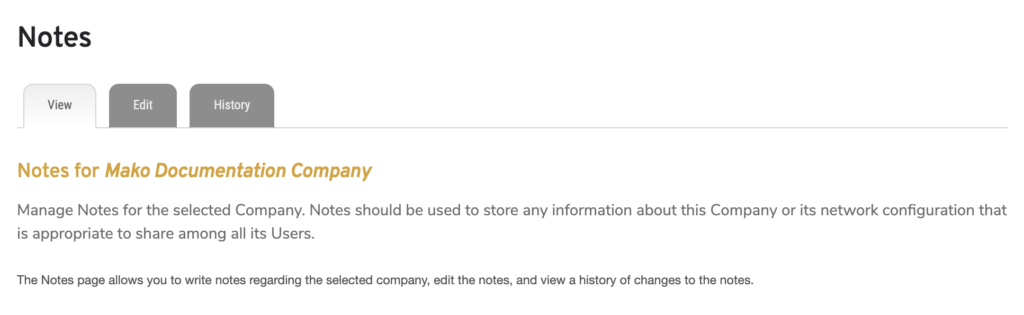
Figure 1. Example Notes Page
The Notes page (Fig. 1) allows you to write notes regarding the selected company, edit the notes, and view a history of changes to the notes. These notes can be used to store any information that may be relevant to yourself or other users associated with the selected company. These notes may be visible to all of the selected company’s users. Do not store your own private notes here.

Figure 2. Example Company Notes Link
If there are Company notes saved, a link to these notes appears in the header information for the selected Company (Fig. 2). Click the page icon button to view these notes.
To save notes for a specific Site, see the Notes page in the Sites >> Manage Site documentation.
To save notes for a specific Mako device, see the Notes page in the Configure >> Deployment documentation.
View Notes
The View tab (Fig. 1) displays the latest version of the saved notes for the selected company. It is selected by default when you arrive at the Notes page, or you can click the View tab.
Edit Notes
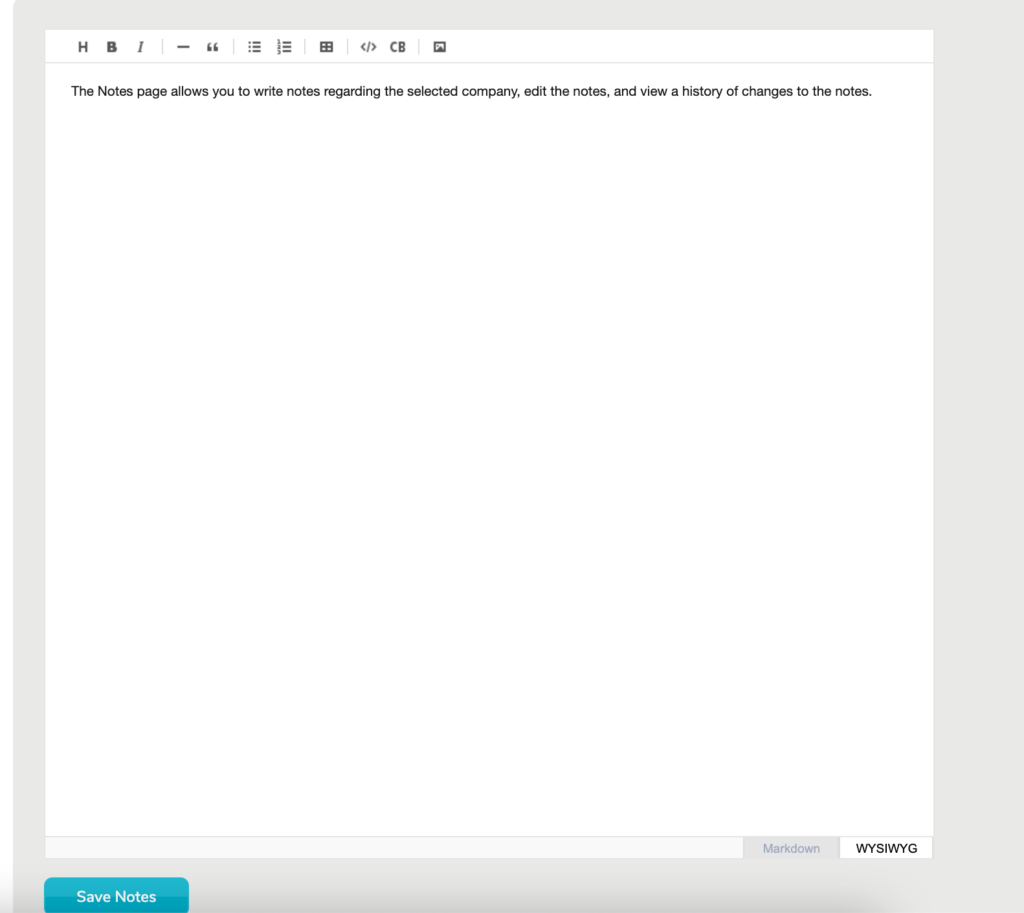
Figure 3. Example Edit Tab
Click the Edit tab (Fig. 3) to allow you to edit the notes for the selected company. You can enter and format your notes and changes using either the WYSIWYG view or Markdown view. Remember to click the “Save Notes” button after you are finished in either view.
WYSIWYG View
A “What You See Is What You Get” (WYSIWYG) editor presents a user interface familiar to most word processor users, with basic formatting options available in a menu bar at the top of the editor. This is the default view, but you can click the WYSIWYG tab at the bottom of the editor to return to this view, as well.
- Headings – choose a heading (1-6) to apply to selected text; also remove text formatting by selecting “Paragraph”
- Bold – format selected text in bold
- Italic – italicize selected text
- Line – insert horizontal line
- Blockquote – indent selected text as quoted material
- Unordered List – format selected text as bulleted list
- Ordered List – format selected text as numbered list
- Insert Table – choose row/column dimensions and insert a blank table
- Inline Code – format selected text in monospaced font
- Insert CB – insert code block; this is a gray block using a monospaced font; uses a separate editor interface to manage the text within the box
- Graph – insert graph using Graphviz; uses a separate editor interface to program graphs; use external resources to familiarize yourself with Graphviz syntax before using this feature
Markdown View
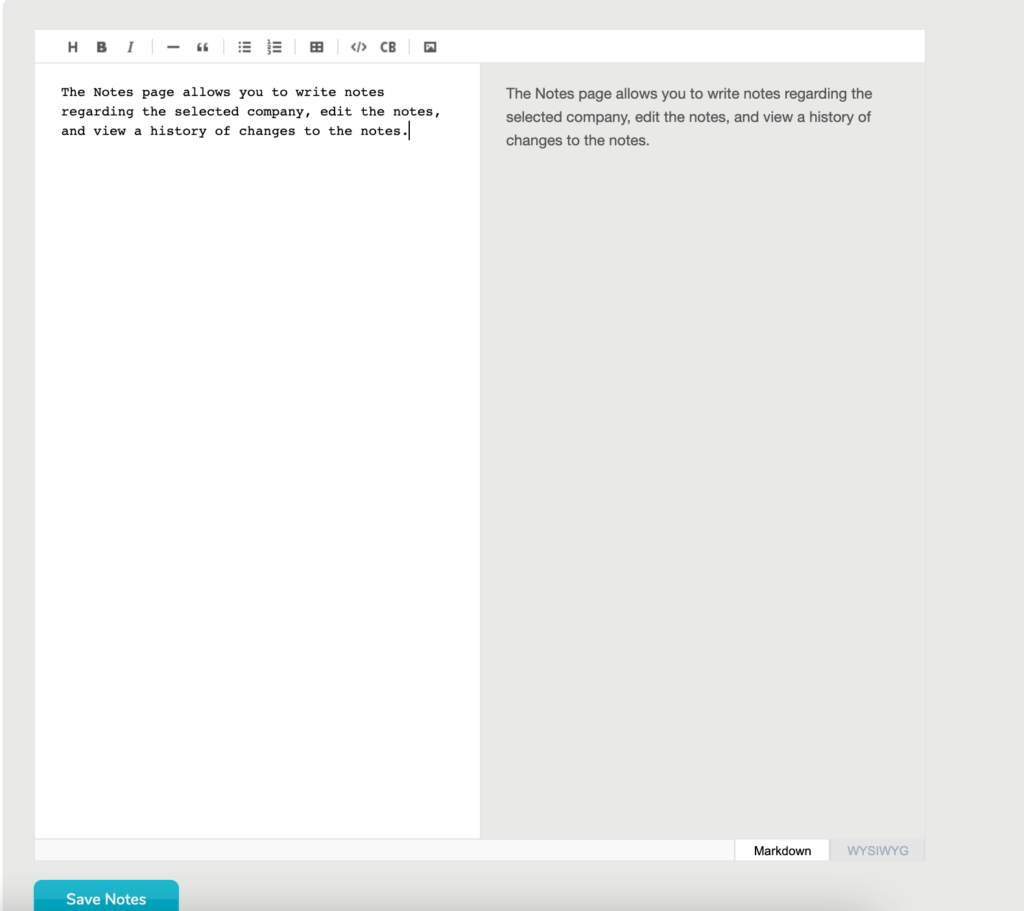
Figure 4. Example Markdown View
The Markdown view (Fig. 4) adds a pane to the editor user interface that allows you to edit the raw Markdown source behind the formatted text directly. Click the Markdown tab at the bottom of the editor to switch to this view for advanced users. Use external resources to familiarize yourself with Markdown syntax before making any changes in this manner.
Save Button
Click the “Save Notes” button to save any changes made on the Edit tab.
Notes History
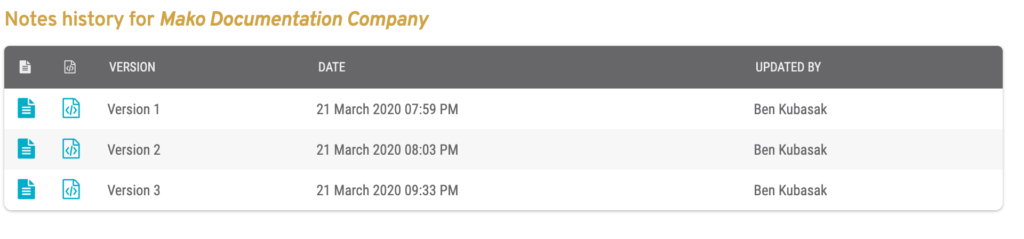
Figure 5. Example History Tab
Click the History tab (Fig. 5) to display a list of changes to the notes for the selected company.
Columns
- [View Notes] – view button
- [View Notes Source] – view source button
- Version – numbered version of notes (automatically generated)
- Date – date and time notes were updated
- Updated By – user who updated notes
Actions
View Notes
You can view a particular version of the formatted notes for the selected company by clicking its text document icon button. This will open the formatted notes in a new window.
View Notes Source
You can view a particular version of the notes’ Markdown source code by clicking its source document icon button. This will open the notes’ source code in a new window.